


Woodworking With Resin
Woodworking With Resin will show how to pour Casting Epoxy, prep live edge slabs, finish woodworking projects, apply seal coats, use metallic powders to enhance our epoxy with metallic powders. This throwaway Redwood was salvaged and hand made into functional art.
Project supply checklist: https://www.stonecoatcounterto....ps.com/woodworking-w
Subscribe now & learn all of our new techniques! https://www.youtube.com/c/Ston....eCoatCountertops?sub
https://www.stonecoatcountertops.com products designed for the DIY customer to go pro! You Got This!
Our Store and products: https://www.stonecoatcountertops.com/stone-coat-product
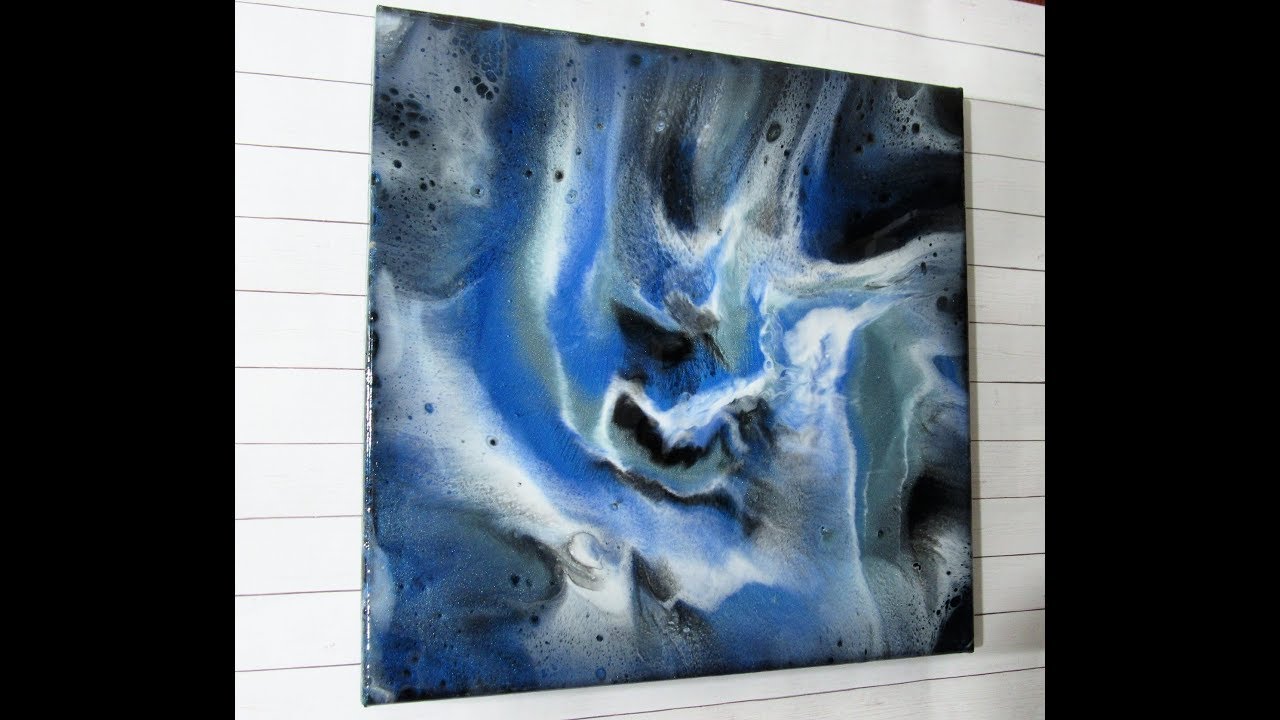
Color Recipe:
Plane your wood with SCC Slab jig.
Assemble your mold and put tyvek tape down in the mold, apply the tyvek tape onto the outside of your mold to create a good seal as well.
Apply a seal coat to the edges of your wood with SCC Quick coat gap and seam filler.
Torch to remove air bubbles.
Mix SCC Super cast by hand to minimize air bubbles.
Split into 2 containers and tint one with SCC Purple mountain metallic powder, tint the other with SCC Violet pearl metallic powder.
Pour as desired 1/4" at a time, taking a torch to remove any air bubbles before pouring your next 1/4". You can pour up to 2" in a 24 hour period with our Super cast.
When project has hardened remove it from your mold.
Sand the surface smooth and flat by hand or use your router with SCC Slab jig.
Work from 60 grit up to 220 grit sand paper with an orbital sander.
Router the edges using 1/4" round over bit on the top of the edge and 1/8" round over on the bottom of the edge.
Use SCC Quick coat gap and seam filler epoxy to seal the project. Mix 1:1 ratio, at an amount of 1oz of mixed epoxy per square foot and apply with a shower squeegee for your seal coats.
Torch 3x to remove air bubbles.
After 3 hours sand with 220 grit to open any air bubbles and wipe off the project with a dry paper towel before your next seal coats.
Repeat this for a total of 3-4 seal coats.
Use a burn in stick to fill in any pits and bug holes that remain.
Mix SCC Regular Countertop epoxy.
Pour, trowel, and chop the surface.
Torch 3x to remove air bubbles.
24 hours later sand off any drips under the project with a 50 grit metal fiber sanding disk and attach legs.
Insiders Group:
Join the Stone Coat Countertop Insiders Group for the latest tips and tricks, your fellow Epoxy friends all join in on the Q&A, project pictures, recipes, and more.
https://www.facebook.com/groups/SCCinsiders/
Podcast: https://www.youtube.com/playli....st?list=PLvy_iAokY2_
Tools we use:
https://www.stonecoatcountertops.com/toollinks
About us:
Stone Coat Countertops is an epoxy based YouTube channel that will show you unique ways to DIY your way to an amazing kitchen, bath, resin art, construction, or design project on a budget. We believe in teaching skills in, woodworking, art, epoxy floors, epoxy countertops, and showing how to get realistic results to make your old laminate, tile countertop, formica, concrete countertop, garage floor, and walls look like renewed works of resin art! Simply put we are always looking for our next project to help all the DIY folks, contractors, designers, artists, and hobbyist, tackle their next makeover. Watch our free how to videos on the skills to make your dreams come to life with epoxy resin! Contact us anytime for free project support, (541) 450-1976 You Got This!
Want to learn more about what we do? These are the subjects we cover from start to finish! epoxy, epoxy countertop, epoxy flooring, painting with acrylics, art resin, painting, painting countertops, dirty pour, epoxy metallic, epoxy metallic floor, epoxy table, epoxy resin, epoxy resin table, diy, woodworking.
#StoneCoatCountertops #epoxy #YouGotThis
